The smart way to build websites with Blocs
Create your website in no time with 113 pre-designed blocs.
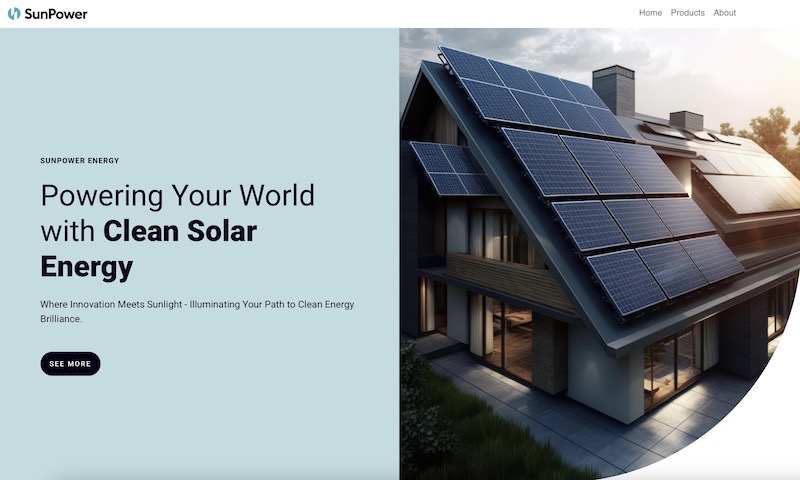
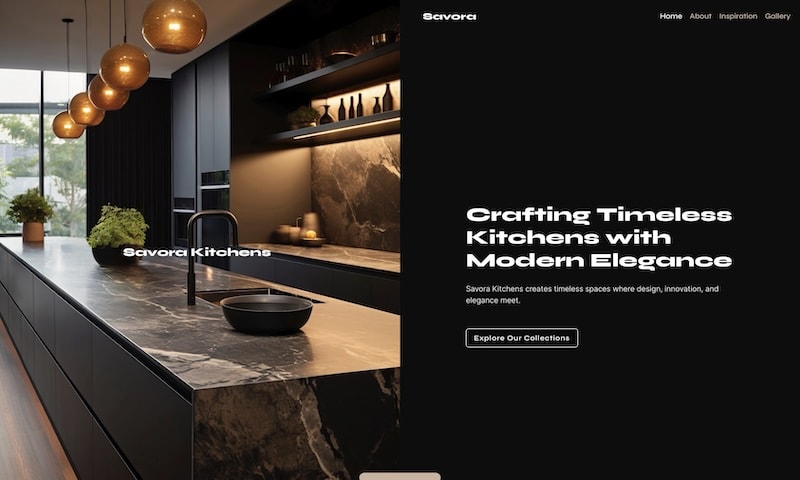
Do you think BlocsApp doesn't offer enough pre-made layouts? Don’t feel like building everything from scratch? Then Premium Smart is just what you need!
With 113 pre-designed layouts across 11 sections, you get a brand-new library seamlessly integrated into Blocs. These blocs are the perfect addition to the existing designs, helping you create stunning websites faster and more efficiently.
The Smart Sections
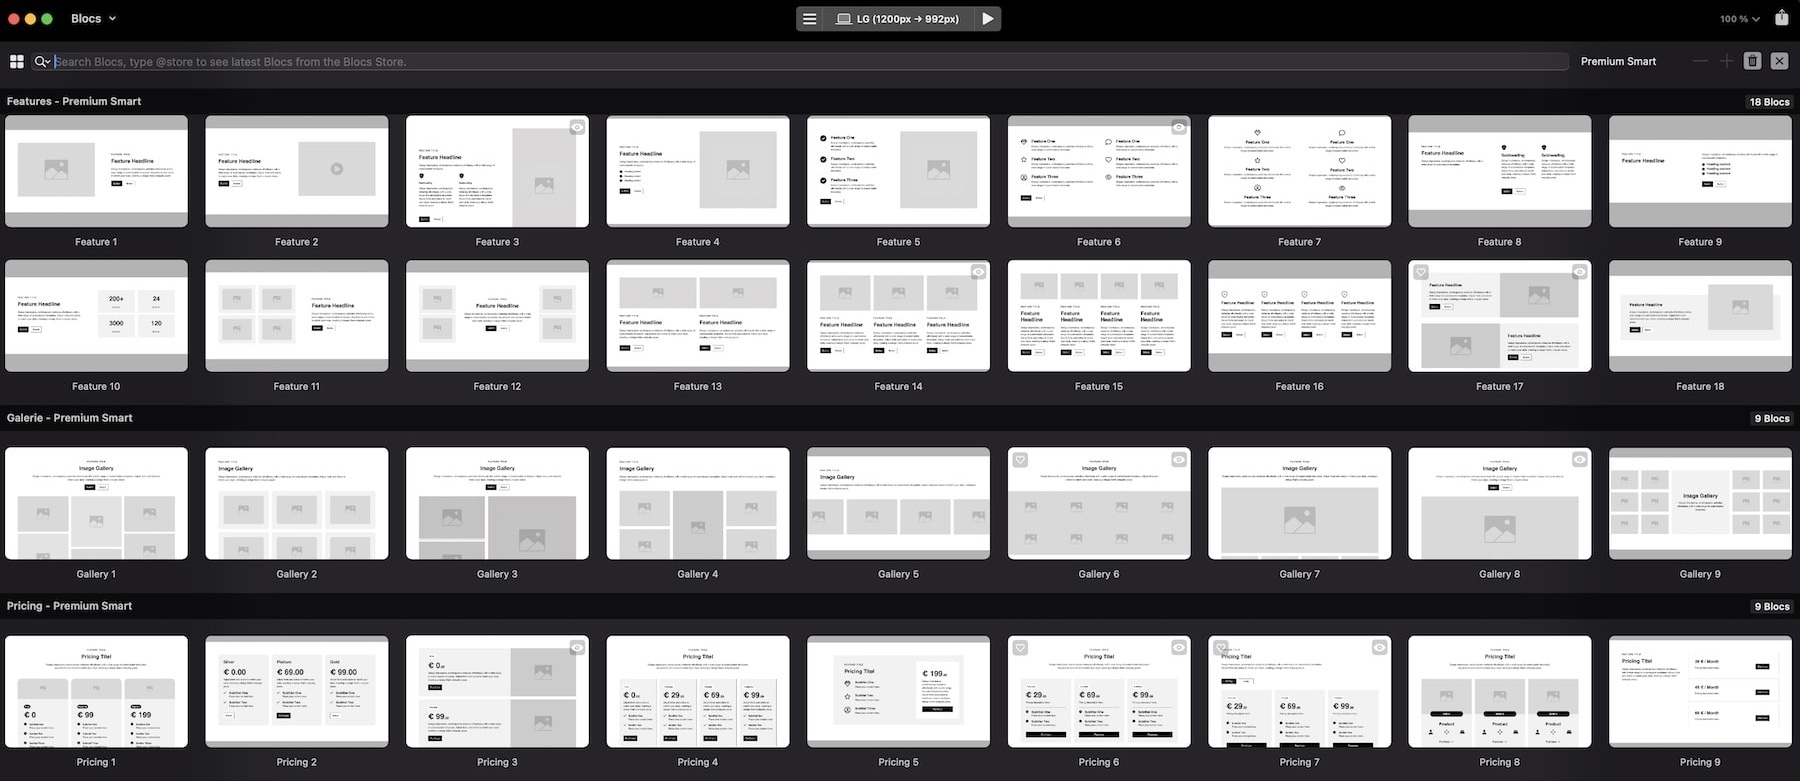
The Premium Start Library is a powerful extension for Blocs that makes web design easier. It includes 11 sections and 113 pre-made layouts, offering a variety of modern, professional elements that are easy to customize. With the Premium Smart, you can build high-quality websites quickly and efficiently.


The perfect extension for Blocs

79,00 €
59.00 €
One time - no V.A.T
Secure payments are handled by Payhip.
Premium Start is a powerful extension for Blocs. Get Premium Start now and work more efficiently. Purchase Premium Smart and access a variety of beautifully designed layouts across 11 categories.
Questions? Check the FAQs and Refund Policy
The Start Library
The new Smart Library contains 113 pre-built blocks across 11 sections, making it easy and efficient to create a complete website without complex adjustments.
Premium Start Tutorial
This tutorial will guide you step by step through the installation, setup, and customization so you can unlock the full potential of Premium Smart.
Follow these steps to install Premium Smart:
Launch Blocs – Open the Blocs app on your Mac, iPad, or iPhone, but do not load any project yet.
Open the Extension Manager – Go to the top menu bar, select Window, and click on Extension Manager.
Add a New Extension – Click the “+” symbol in the top right corner.
Select the Files – Navigate to the location where the Premium Smart files are stored and select all of them.
Start Installation – Click Open and wait for the installation process to complete.
Restart Blocs – To finalize the installation, restart the Blocs app.
It is recommended to install only the Blocs you actually want to use. The pre-designed Blocs can now be found in the PremiumSmart section and are best used with the included Site Template, as it contains all the necessary classes. However, you can also use the Blocs without the Site Template, but this will require more manual adjustments.
After installation, you will find a new site template in your template library named Premium Smart Site Template. This template contains all the essential settings and code components for Premium Smart. It is recommended to start your projects with this template.
Open the Class Manager – Control global typography settings through the Class Manager.
Edit Basic Fonts – Modify the typography for headings, paragraphs, and buttons (h1 -h6, p, a, label and .btn).
Define Bold Text – Adjust the .bold class to use a stronger weight for bold text.
Modify Button Fonts – Customize the .btn class if buttons should have a different font style or weight.
Premium Smart utilizes four predefined color palettes.
Adjusting Colors:
Open the Global Swatch Manager – Access the color settings.
Modify Colors – Adjust the primary and secondary colors as needed.
Primary – Main heading color
Primary Variant – Main text color
Secondary – Main background color
Secondary Variant – Main color for frames and icons
Dark/Light Mode Support:
Premium Smart automatically supports dark and light mode. The background color in dark mode is controlled via the .smart-bg class. Every blocs has this class inside.
All other dark theme-specific styles use classes that begin with .dark-theme. These classes allow customization of colors specifically for dark mode, ensuring a consistent and aesthetically pleasing appearance.
Open the Class Manager – Control corner rounding globally using specific classes.
Round Button Corners – Modify the .btn class to apply the desired corner radius to all buttons.
Set Global Rounding – The .smart-radius class manages the corner rounding of images, cards and form fields.
Apply Important Settings – Enable the !important option in the rules tab of the .smart-radius class to enforce changes.
Exclude Specific Elements – If certain elements should not have rounded corners, simply remove the .smart-radius class from them.
Ensure Consistency – When adding new elements, apply the .smart-radius class to maintain a uniform design.
Style the Button – .btn
Round Button Corners – Modify the .btn class to apply the desired corner radius to all buttons.
Set Global Rounding – The .smart-radius class manages the corner rounding of images, cards and form fields.
Apply Important Settings – Enable the !important option in the rules tab of the .smart-radius class to enforce changes.
Exclude Specific Elements – If certain elements should not have rounded corners, simply remove the .smart-radius class from them.
Ensure Consistency – When adding new elements, apply the .smart-radius class to maintain a uniform design.
If you need to remove Premium Smart from your computer, follow these steps:
Open the Extension Manager – Go to Window and select "Extension Manager."
Select the 'Blocs' Category – Use the dropdown menu to filter by "Blocs."
Choose the Extensions to Uninstall – Select all Premium Smart custom blocs you want to remove.
Remove the Extensions – Click on the '-' icon in the top right corner and confirm by clicking Yes, remove Extensions.
Select the 'Sites' Category – Change the dropdown menu to "Sites."
Uninstall the Site Template – Select the Premium Smart Site Template and remove it using the '-' icon.
Restart Blocs – Close and reopen the Blocs app.
Clear Library References
Open a new project in Blocs.
Open the Bloc Bar and select the Library using the Library Selector.
Click on the Bloc Bar settings icon in the top right corner.
Select "Organize," click on the trash can icon, and confirm the deletion by clicking "Delete Library."